
How to install, configure and run Bonsai Studio locally (custom models, LoRA,...)
Wednesday, September 3, 2025

With the 0.4 update in Bonsai Studio, now you can connect your local or remote server to generate AI images. This unlocks the full potential of Bonsai Studio without requiring a license and allows for further customization.
Bonsai Studio is an advanced webtoon creation software with AI features and 3D posing, letting comic artists speed up their workflow.
✅ Benefits of running Bonsai Studio locally
- Usage of your own Checkpoints, LoRAs,...
- Full control over generation settings
- No monthly subscription required
⛔️ Cons of running locally
- Requires a powerful GPU (RTX 3060 ++)
- You have to install/run the server manually
Do you want to showcase your work?
Have questions about Bonsai Studio?
Join our Discord community!
Join Bonsai Studio DiscordInstalling the server
Installing the server is very easy, even if you are not tech-savvy. Bonsai Studio supports Forge WebUI as its backend. A1111 WebUI is also compatible but it might lead to more issues and is harder to setup, so I recommend you to go with Forge.
Downloading and installing Forge WebUI
Follow the instructions from the link below:
https://github.com/lllyasviel/stable-diffusion-webui-forge?tab=readme-ov-file#installing-forge
Downloading models
Now that your server is installed, you will need some models. To fully support Bonsai Studio you will need at least:
- A Checkpoint
- A ControlNet model (for Lineart, Pose and Scribble)
Downloading ControlNet models
Depending on your base model (SD 1.5, SDXL,...) you will need specific controlnet models.
For SDXL (which is the best base model for illustration and control), I recommend the one from Xinsir (union). It's really convinient because one single model supports the 3 types required. You can find it here:
https://huggingface.co/xinsir/controlnet-union-sdxl-1.0
For Stable Diffusion 1.5 you can use the ones from Illyasviel:
https://huggingface.co/lllyasviel/ControlNet
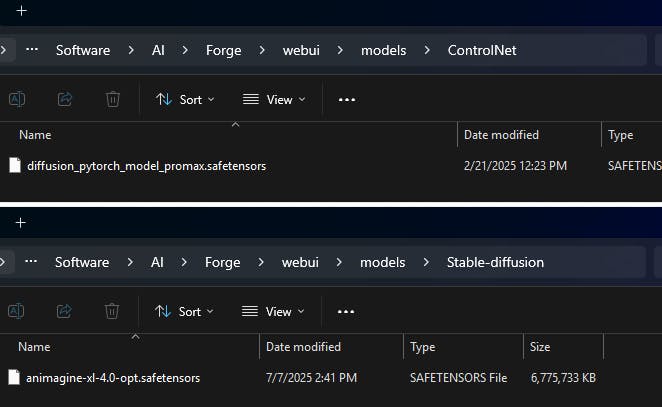
Once downloaded, place them in the next folder:
[Forge WebUI] > webui > models > ControlNet
Downloading Checkpoints
A checkpoint is the responsible of generating the image. Depending on the data it was trained, it will determine the style, composition and overall quality of your images.
Here are a few that I personally recommend and are widely adopted by the community:
- Animagine XL 4.0
- NoobAI
- Illustrous XL
- Pony Diffusion V6 XL
You can find them on many sites. The most popular is CivitAI.
Once downloaded, place them in the next folder:
[Forge WebUI] > webui > models > Stable-diffusion
Running the server
So, you already have your server installed and your models ready. It's time to run it, but before, you need to enable the API so Bonsai Studio can communicate.
To do so, open and edit the next file (right-click, edit in Notepad):
[Forge WebUI] > webui > webui-user.bat
At the end of the " set COMMANDLINE_ARGS=" line, add " --api".
Your final file should look something like this:
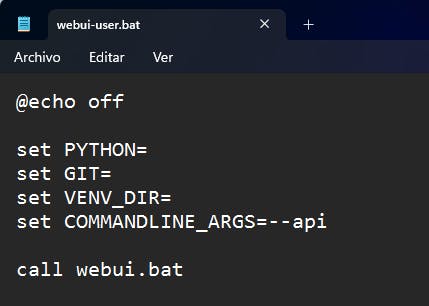
Save the changes and close it.
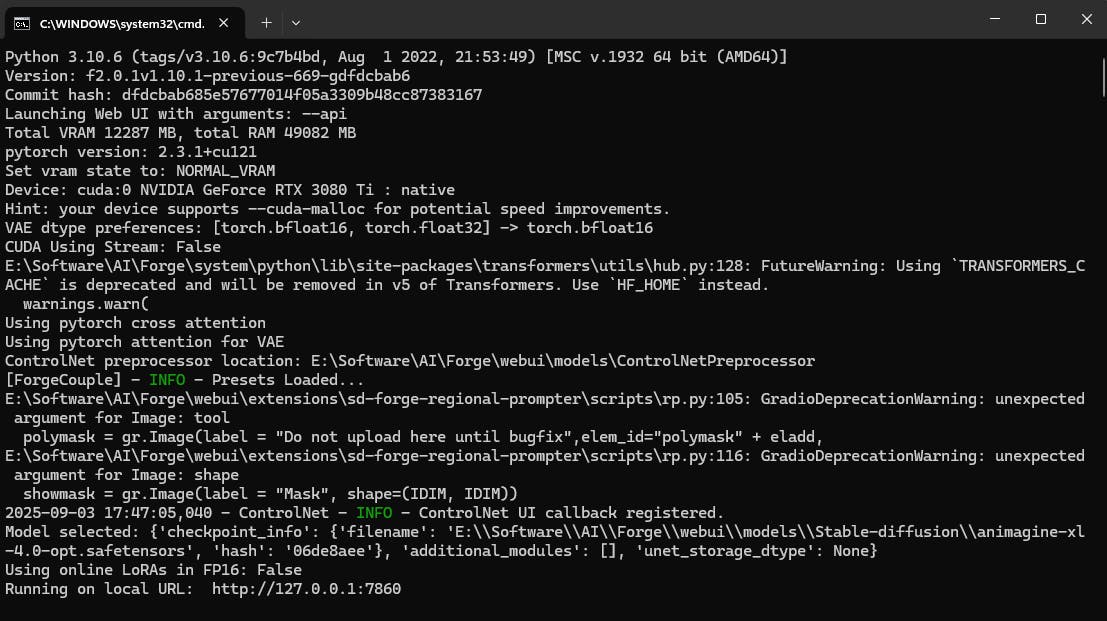
Now you can run the server by executing the " run.bat" file in the Forge main folder.
A browser window with the WebUI will pop up, but you can ignore it and close it, as long as the server keeps running. (You can optionally add " --nowebui" to the COMMANDLINE_ARGS if you want to get rid of it)
Connecting with Bonsai Studio
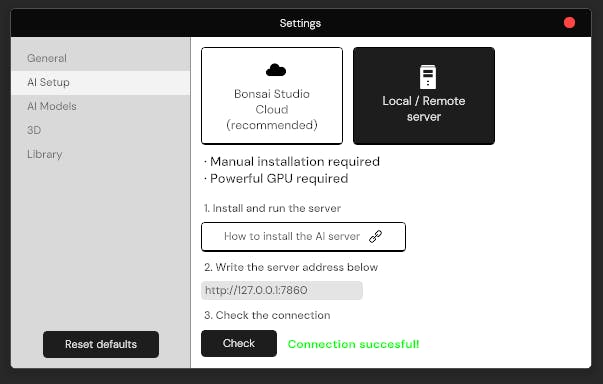
The first time you open Bonsai Studio, it will ask you to setup your server. You can access this again at any time in the top bar " App Settings > AI Setup"
Insert the server address and press " Check connection" to ensure it's working properly.
By default, Forge's WebUI address is always http://127.0.0.1:7860, so you don't need to change it. If your case is different, or you are running the server on another machine, it will be different and require more steps to allow communication.
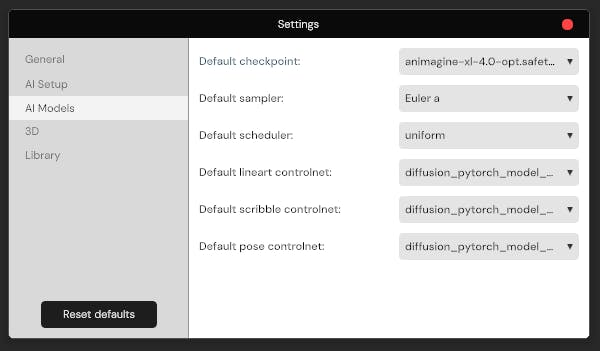
Setting up default models
Lastly, you can setup some default models so you don't need to manually select them on every new generative layer.
Go to " App Settings > AI Models" and select the ones you'd like.
Start creating with Bonsai Studio locally
And just like that, you can start enjoying Bonsai Studio locally with more control than ever before. Go ahead and try it yourself!
If you don't meet the requirements to run the server locally, you can always adquire a monthly license that handles everything for you and includes Unlimited Generations. Check it out here: Upgrade Bonsai Sutdio